Looking for a creative way to upcycle old books? This DIY book clock project is perfect for book lovers and book club. It’s a unique way to mark the New Year or spend the extra hour on daylight savings days. Here in Philadelpha, the Novel Tourist Book Club created these DIY book clocks during one of our book club meetings. I put my book clock right above my bookshelf that way the book is still hanging out with its book friends! 🙂 Here’s how you or your book club can make a clock out of a book in just a few simple steps.
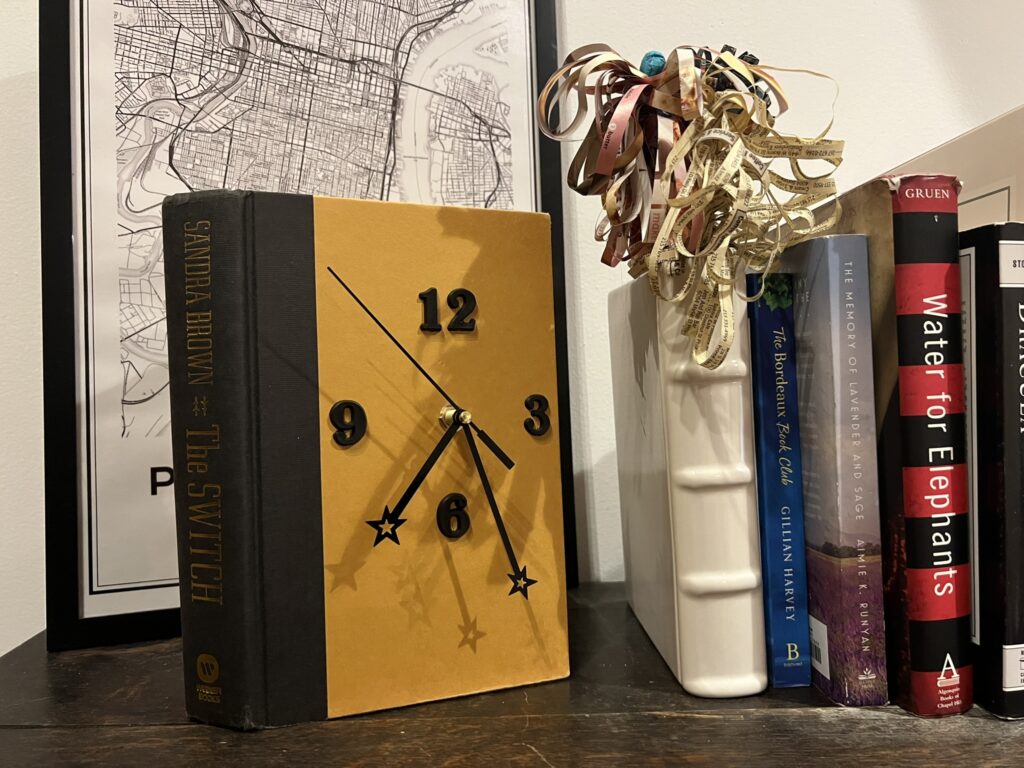
How to Make a Clock Out of a Book: A Step-by-Step Guide
Here’s how to make a beautiful book clock that will keep you inspired, whether it’s on your wall or perched on a shelf. Let’s get started!
Materials Needed:
- A hardcover book (at least 1 inch thick (1/2″-3/4″ between the covers))
- Clock kit (it should include the hands, movement mechanism, and battery compartment)
- Check the shaft length. It needs to be long enough to go through your book but not stick out too far.
- Make sure the hands are the correct length fit your book.
- Drill with a 3/8-inch drill bit (or whatever size matches the clock kit you purchased)
- Ruler and pencil
- Protractor (optional for precision measurements)
- Exacto knife or box cutter
- Glue (or Mod Podge) for securing components or pages, optional
- Battery (whatever size fits your clock kit. Probably AA)
- Numbers for clock hours or Roman numerals
- Adhesive for numbers (if needed)
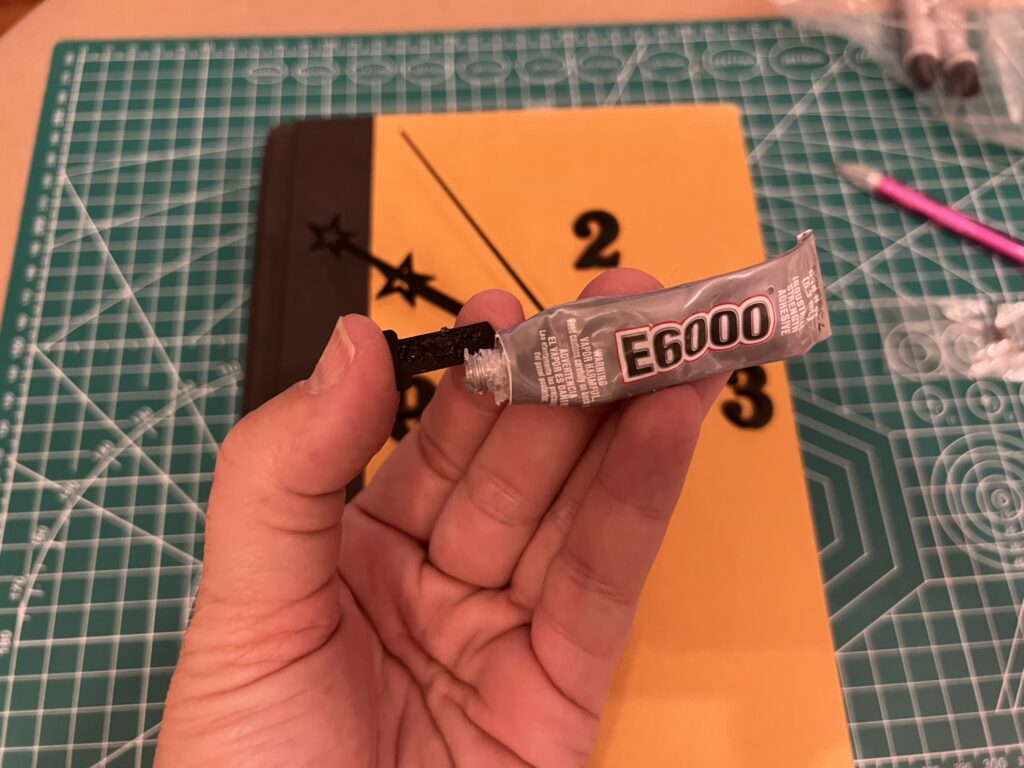
- E600 glue works well
- I don’t suggest hot glue
- Optional: Paint, embellishments, or other decorative elements to suit your fancy
Tick-by-Tock Instructions
1. Choose a Book to Match Your Personality
Pick a hardcover book with an eye-catching cover design or a mostly blank cover if you want to add numbers. A book at least 1 inch thick works best to accommodate the clock mechanism. The book must also be large enough in width and height to accomodate your desired clock hand size. This is a great opportunity to use a thrifted find that deserves a second life.
2. Mark the Center For Your Clock Hands
You can use a ruler to find the center of the book cover. Or find a spot off center that matches your artistic style. Wherever you decide, it will be the center of the clock so just make sure you have enogh room for the hands to go full circle. I’ve made a few clocks where the hands extend beyond the book on the sides or top and like the look! If you’re going to hang your clock on the wall, you don’t have to worry about extending the clock hands beyond the bottom either.
Once you’ve decided on where you want the center of your clock, mark the spot lightly with a pencil—this is where you will drill the hole to fit the clock mechanism.
3. Drill a Hole for the Clock Mechanism
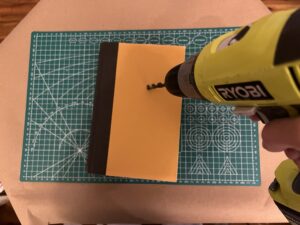
- Close the book so that you are drilling straight down.
- Using a drill with a 3/8-inch bit (or whatever size is recommended for your clock mechanism), carefully drill through the cover at the marked center point. Hold the book securely and drill slowly so you don’t go all the way through the book!
- You just need to get through the cover. If you drill into a few pages, that’s great because then you’ll have an easy time for the next step.
- If you don’t have a drill, that’s okay. You can use a phillips head screw driver and a hammer to punch a hole through the cover. The, use your exacto knife to enlarge the hole to the necessary size.
4. Mark Space for the Clock Mechanism
- Open the book and put the clock mechanism shaft into the hole in the pages created when you drilled through the cover. It doesn’t need to go the whole way in, just a smidge. Then, using your pencil trace the shape of the clock mechanism on the page.
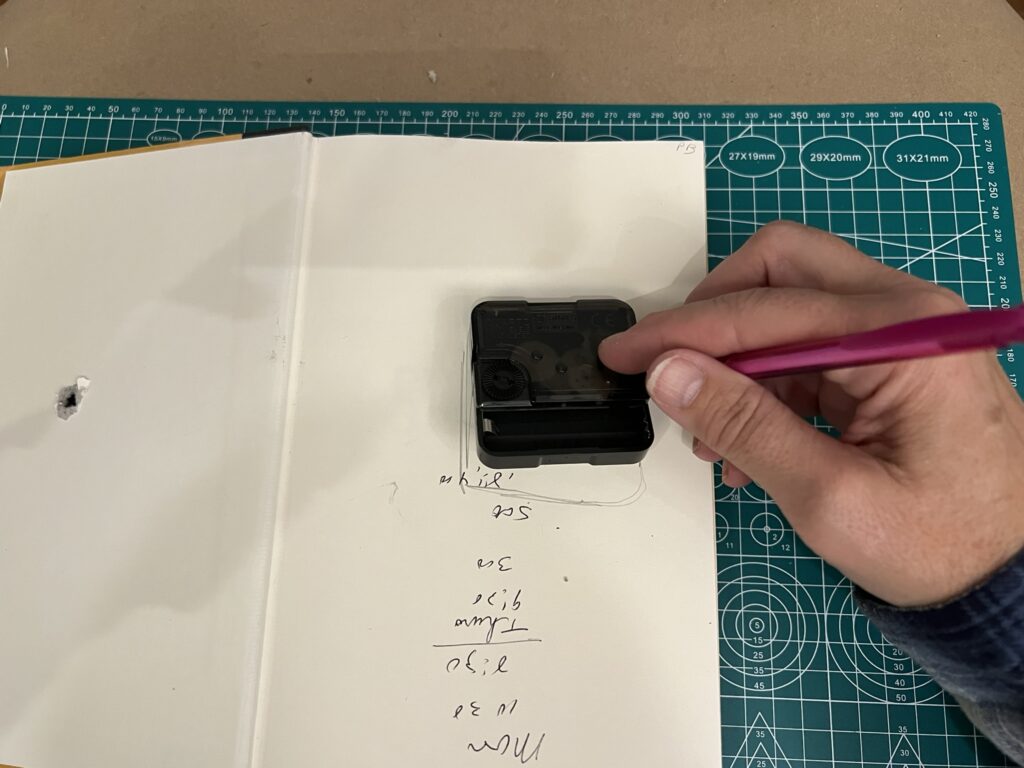
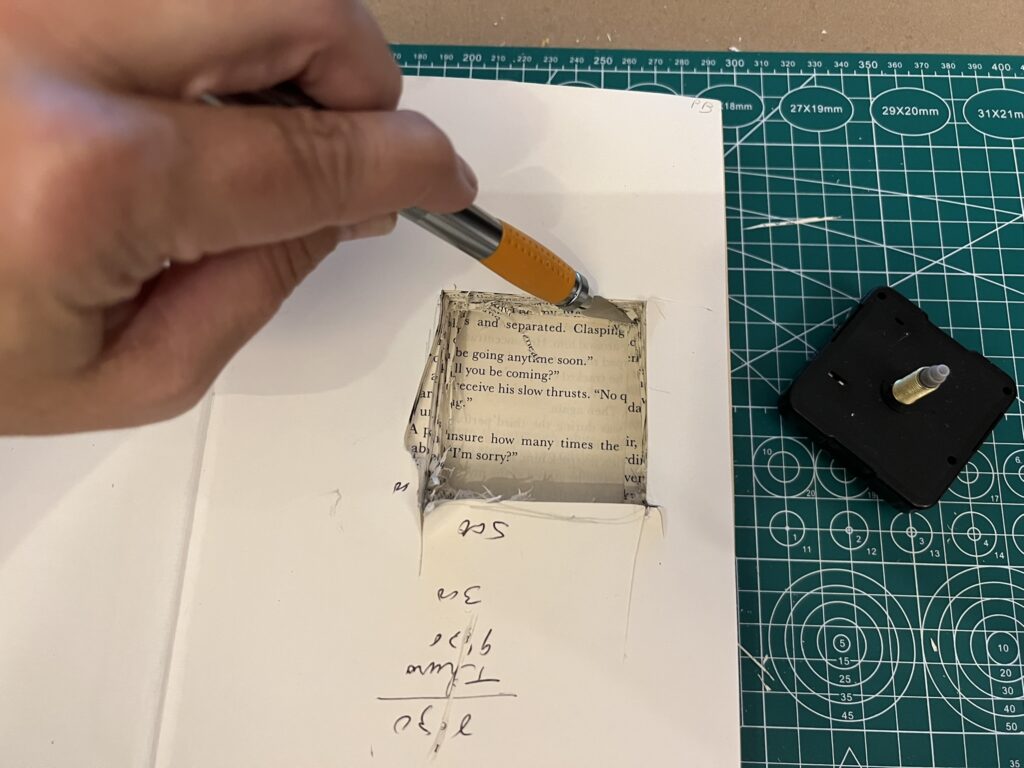
5. Cut Out Space for the Clock Mechanism
- Using a hobby knife, cut out where you traced the clock mechanism. Keep going a few pages at a time until you have a space deep enough to fit the clock mechanism snugly. Be careful not to cut through the back cover.
6. Install the Clock Kit
- Insert the shaft of the clock mechanism through the hole from the back of the cover.
- Attach the clock hands to the front, following the instructions provided with your clock kit.
7. Add the Hour Numbers (Optional)
To ensure the numbers are evenly spaced around the clock try these methods:
Draw a perfect circle
- Use a compass to lightly draw a circle (with a pencil) around the center point of your clock where the clock mechanism comes through the cover. The circle should be large enough to place the numbers along its edge.
- If you don’t have a compass, tie a pencil to one end of a string and hold the other end at the center point, keeping the string taut as you lightly draw the circle.
Divide the circle into sections
- Start by lightly marking (with a pencil) the 12, 3, 6, and 9 positions first. Use a ruler to align these marks perpendicular and parallel to the edges of the book cover.
- Next, evenly divide the space between these marks to add the remaining numbers for the hours. For precision, you can use a protractor to divide the circle into 30-degree sections for each hour.
Place the numbers
- Before you place your numbers, check out the ideas below to make a clock Attach the numbers using adhesive or paint them directly onto the book cover. Let the adhesive or paint dry completely before moving on to the final step.
8. Add Batteries
Insert the required batteries into the clock mechanism. Set the time and then test the clock to ensure it works properly before finishing your DIY book clock.
9. Optional: Secure the Pages
If the pages feel too loose to you, you can glue the edges together to keep them in place. This step is optional and might be best for those who want to hang their clock on a wall. However, I prefer to leave them loose (except maybe the pages around the mechansim) if I’m going to perch my book clock on a shelf. No matter what, don’t glue it completely shut because you will need to be able to access the clock mechanism to change the batteries.
10. Decorate to Show Off Your Own Personal Flare (Optional)
- If you’re artistic (unlike me!) you could paint the clock hands or add embellishments to match your book’s theme. You’ll probably want to paint the clock hands before you assemble the clock. But, if you decide after assembly that you want to fancy your clock up a bit, the hands are easy enough to remove.
- You can also paint the edges of the book’s pages or add a quote to the cover for a personalized touch.
11. Display Your Book Clock
Your unique book clock is now ready to be displayed! Prop it up on a shelf, hang it on the wall, or gift it to a fellow book lover. It’s sure to be a conversation starter!
Why Make a DIY Book Clock?
Crafting DIY book clocks is not only a fun and creative project, but they can also make a meaningful gift or a quirky way for your book club to spend that extra hour when daylight saving time ends! This project is perfect for:
- Book Club gatherings, especially in November when we turn the clock back an hour
- Upcycling old books into functional decor
- Creating unique themed gifts for book lovers
Creative Themes for DIY Book Clock Gifts
Crafting a book clock isn’t just about upcycling a book and saving it from a landfill. They make amazing (and inexpensive but meaningful) gifts. Here are some creative ideas to inspire your themed book clock, especially as gifts for friends, colleagues, and family:
- Law Books for Lawyers
Use legal texts and add clock hands styled like gavels or scales of justice. - Medical Books for Doctors or Nurses
Repurpose anatomy or nursing books, with clock hands shaped like syringes or stethoscopes. - Cookbooks for Food Lovers
Use a classic cookbook and add mini food replicas in place of the hour numbers or clock hands shaped like a fork and knife. - Travel-Themed Books for Explorers
Choose a book with a map on its cover and add compass-style clock hands and use compass directions (N, E, S, W) as numbers. - Classic Literature for Book Lovers
Transform classic novels into clocks with antique-style hands and Roman numerals. - Music Books for Musicians
Use biographies of musicians or music theory books with clock hands shaped like notes or instruments. - Science Books for Scientists
Repurpose books on physics or astronomy, using atoms or chemical symbols for numbers. - Gardening or Tree Books for Gardeners or Hikers
Choose gardening books or novels about trees with floral designs for hands and flowers as hour markers or tree branch shaped clock hands. - Sports Books for Athletes
Use sports biographies with clock hands styled like bats or rackets. - Children’s Books for Kids
Pick whimsical children’s books with colorful shapes or animals for numbers. - Business Books for Entrepreneurs
Use motivational books and modern clock hands with dollar signs in place of numbers. - Art Books for Creatives
Use beautifully illustrated art books with paintbrush-shaped hands or art tools as hour markers. - Text Books for Teachers
Repurpose a grade school text book and use clock hands shaped like pencils and apples as hour markers. - Car or Home Repair Books for Mechanics or Contractors
Upcycle a coffee table book about cars and use tiny cars as hour markers and these neat wrench shaped clock hands.
Share Your Creation
Have you tried making a DIY book clock? Share your creation and tips in the comments below or tag @thenoveltourist on your social media posts. We’d love to celebrate your success with you!


